
My fondest childhood memories of ice cream fit vividly into two categories. There are the Sunday afternoon trips to Dairy Queen in Dallas, N.C. And there are the summer afternoons at home when mom and dad would churn homemade ice cream in our kitchen in a one-gallon Proctor-Silex machine.
It seems like the flavor in our house was always cherry. That’s Dad’s favorite, and one we all could enjoy, too. But the method of churning that my parents shared with me during a Fourth of July weekend cookout this year (and the one they’ve used for years) can be adapted for any flavor you like. They made cherry and vanilla batches this time, and a neighbor who heard about their ice cream making and decided to try his own made a flavorful batch of banana pineapple.
Your first question might be where you can obtain an ice cream churn. The simple answer, of course, is Amazon.com, where you can purchase a wide variety of models, beginning at about $25.

Here’s what you do next for basic ice cream, and you have the choice of adding what you like to personalize each batch.
Ingredients
10 cups milk (This can be a combination of milk, cream or other similar liquids, but you should stick to 10 cups or fewer of liquid if your machine is a similar size to my parents’ to give yourself plenty of room in the canister for the mixture to expand as it churns and freezes into ice cream. You should also be careful to not use more than 2 total cups of fat, such as a whole milk or cream, so that the mixture doesn’t thicken and turn into more of a butter-like substance. Also be aware that any extra juices you add to make a specific flavor should be part of the 10 total cups of liquid and not in addition to it. For example, you can add cherry juice for a cherry flavor. That amount of juice should be part of your 10 cups of liquid ingredients.)
2 cups sugar
1 teaspoon vanilla (if making basic vanilla)
Dash of kitchen salt
You will also need a 10-pound bag of ice and a container of ice cream salt for use in the ice cream-making process, NOT in your liquid mixture that will be part of what you will eat.
Steps
1. Mix your 10 cups of milk and cream ingredients and allow that combination to chill together in your fridge for just a bit.
2. Once you have chilled the mixture, pour it into your canister, which will go inside the ice cream tub. Then place the dasher in the canister and the lid on top. You can also go ahead and place the motor on top and secure it.
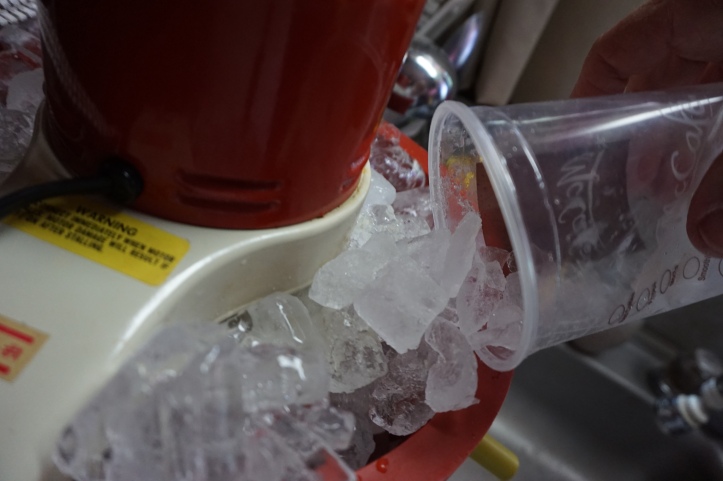
3. Surround the tub with an ice and ice cream salt mixture. Use eight parts ice to one part ice cream salt. Alternate layers of adding them until the tub around the ice cream canister is almost full.
4. Plug in the machine to start the churning process.

5. Be sure not to put too much ice cream salt into the tub so that it gets up into the ice cream canister and ruins your ice cream. You don’t want the ice cream salt in what you will actually eat. The ice cream salt is only used to help melt the ice and transfer the cold in the ice into the canister to your ice cream mixture. It’s a scientific principle of heat transfer that my chemistry and physics-minded dad can explain in further detail if you’d like. He helped explain it to me as we made our tasty summer dessert.
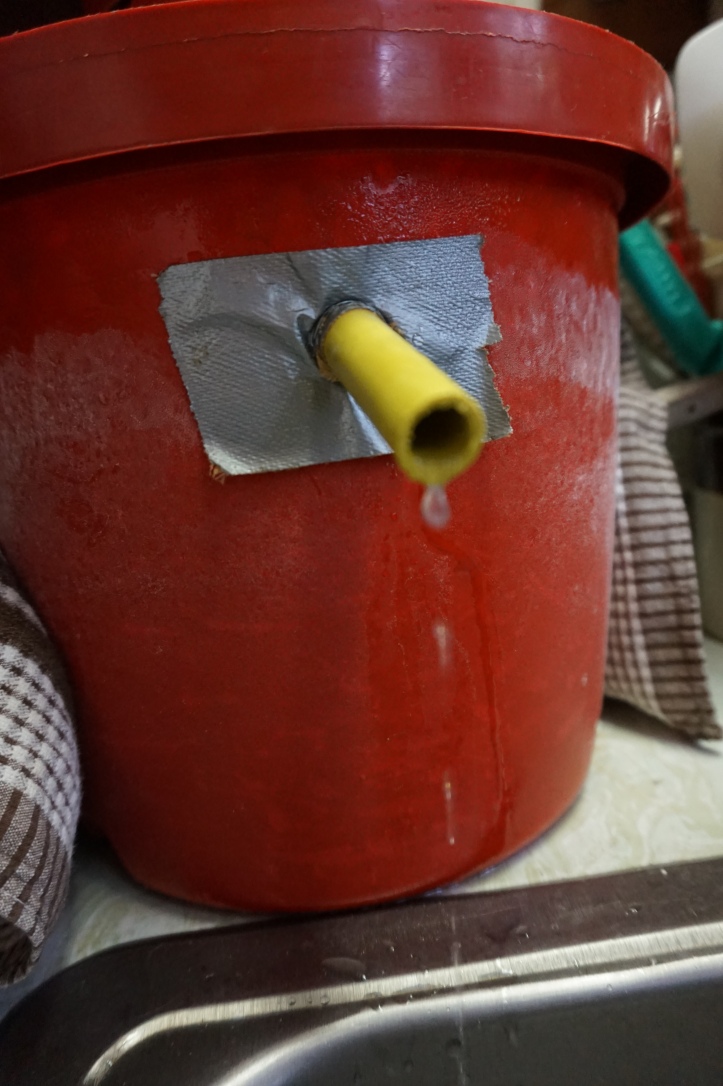
6. There should be a spout on your ice cream machine. Be sure it is pointed into a sink if you’re making your cream in the kitchen, or have it in an acceptable place if you’ve connected your machine to a power outlet outside. Eventually, the spout will flow water and some ice from the tub out of the machine entirely. You can also expect to see your tub frosting a bit on the outside. It’s a great idea to keep a towel beside or on top of the machine (but not the motor as it gets at least a bit hot) to help wipe excess condensation.
7. You will need to continue to add ice to the tub as it melts throughout the churning process.
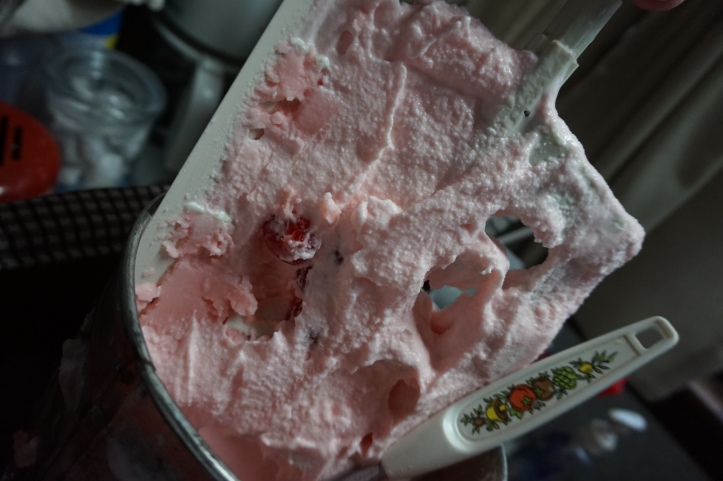
8. When the motor and machine slow down, you’re getting closer to having completed ice cream. Mom and dad’s older machine takes about 40-50 minutes to churn a canister full of delicious ice cream. If you stop the machine sooner, you’ll have something more akin to soft serve. If you churn longer, you’ll have a thicker ice cream.
9. Unplug your machine before checking out the ice cream and make sure the ice and salt have melted down far from the top to avoid getting those items in your food.
10. Enjoy! You can store your ice cream in the freezer for a period of time (which varies by ingredients and mixing). Be sure you remove the dasher and clean it off before storing ice cream in an air-tight container. Be aware that homemade ice cream can get hard or icy and can lose some of its creaminess if you keep it too long.


Yum! This looks so good- have been wanting to try homemade ice cream for so time now!
LikeLiked by 1 person
Thank you so much! It was a delicious July Fourth treat! 🙂
LikeLike
[…] for a July Fourth cookout, my mom searched for a fruitless cobbler recipe that could accompany homemade vanilla ice cream. She discovered this recipe for Chocolate Cobbler on Pinterest, a haven for a never-ending supply […]
LikeLike
OMG I was scrolling through and saw your pic. My dad had an ice cream maker. As a treat he would get ice a block of ice from the fish mongers. We would fill up the canister with Dads Vanilla mix, pack the ice and take turns churning. I haven’t seen one since..that’s what Dad’s do right give you something wonderful to remember? Thanks…Just for the record I have never tasted ice cream as good and probably never will again.
LikeLiked by 2 people
There’s nothing quite like home-churned ice cream. But the memories may be the very best part! We’re so glad you came across our post! Thank you so much for sharing your story!
LikeLiked by 1 person
It’s funny I have kids now and they’d rather stir pots and fly kites than play video games. You can’t beat old fashioned fun. Thanks again.
LikeLiked by 2 people