
In the vibrant and delightful world of pastry, hot glazing stands out as a technique that transforms cakes into works of art. This method, celebrated for its stunning results, combines skill and creativity to give your desserts a sparkle and intensity that seem reserved for professionals. By understanding the subtleties and mastering the insider tips of hot glazing, any amateur pastry chef can elevate their creations while delighting and surprising their guests.
Understanding the Basics of Hot Glazing Technique
Difference Between Glazing and Icing
The secret to a successful glaze lies in its fundamental understanding, starting with the distinction between glazing and icing, which are often confused. Glazing is a preparation that hardens after application. It is essential for decorating cakes with precise patterns or smooth surfaces and typically includes ingredients like chocolate or sugar. In contrast, icing remains flexible and often gelatinous, used to lend elegant shine to tarts while preserving the freshness of fruits.
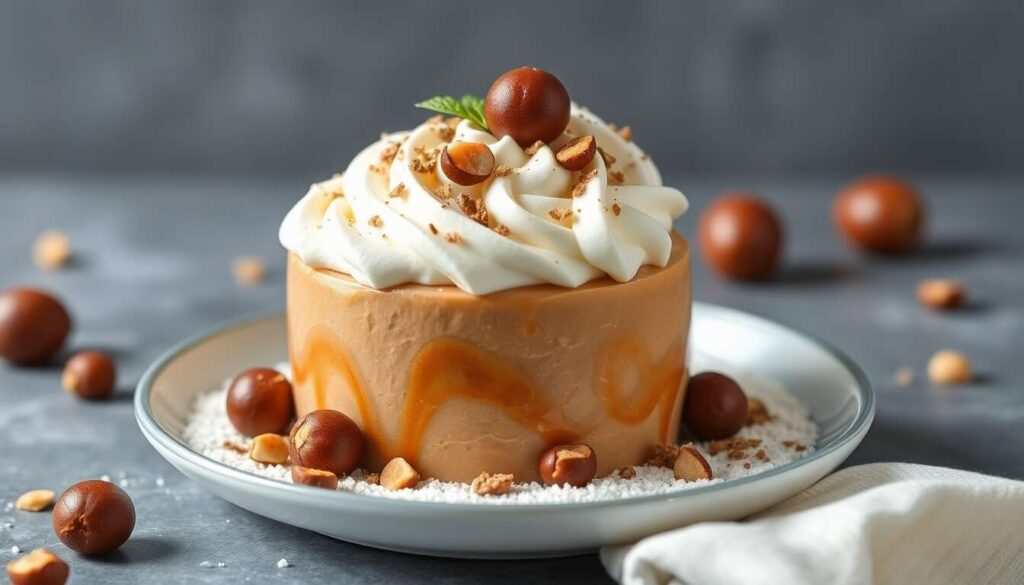
Secrets to a Perfect Mirror Glaze
The mirror glaze is a popular modern variant that provides an ultra-shiny finish. To achieve this technique, precise temperature control is crucial. The preparation must reach 103 °C and then be applied at about 30-35 °C for perfect application. Therefore, a probe thermometer is essential to guarantee this level of accuracy and achieve a successful mirror glaze.
The Importance of Texture and Appearance
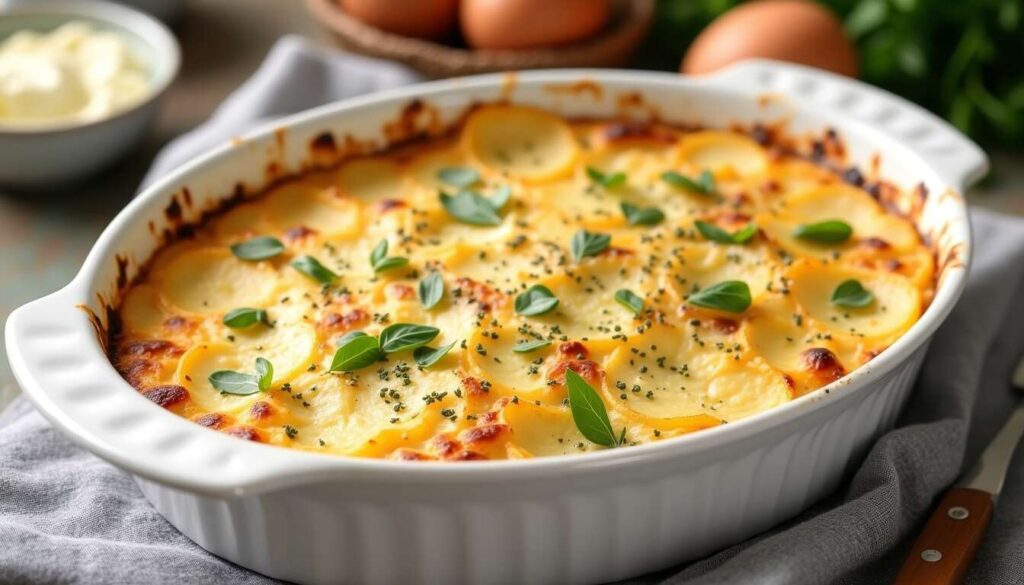
This technique transcends mere mixing of ingredients; it also relies on managing texture and appearance. For instance, the glazing for cookies must be fluid enough to spread evenly, yet not too runny to cause drips. Achieving this precise balance allows for fine artistic details, especially on Christmas cookies.
Armed with these basics, an amateur pastry chef can easily avoid common pitfalls of hot glazing, thanks to a deep understanding of its principles. Let us now analyze common errors and solutions to prevent them, ensuring a lasting shine on your desserts.
Common Mistakes and How to Avoid Them
Pitfalls to Avoid During Preparation
Creating hot glaze can sometimes seem daunting, especially regarding the temperature and ingredients. A classic mistake includes a mixture that is too hot or too cold, which can ruin the final consistency. It is advisable to rigorously check the temperature and add elements in the correct order to avoid lumps and separations.
Adjustments According to Dessert Types
Each dessert type requires specific adjustments to the glaze. For instance, entremets need a lighter, smoother glaze, while traditional cakes can handle thicker glazes. Developing a plan based on the characteristics of each dessert can prevent costly mistakes and ensure the desired quality.
Visual Errors and How to Remedy Them
A glaze that runs too quickly can spoil the final appearance of the dessert. Here are some tips to prevent this:
- Use a thicker glaze on sloped surfaces to avoid drips.
- Chill desserts briefly before application for better results.
- Practice on smaller surfaces to develop an effective technique.
With these solutions, even the most frequent errors become easily surmountable, allowing you to achieve a flawless mirror finish. Now let’s explore how to obtain the perfect consistency to enhance this dazzling effect.
Achieving the Perfect Consistency for a Mirror Effect
Choosing Ingredients for an Ideal Consistency
Obtaining a perfect consistency begins with the careful selection of ingredients. Key elements such as couverture chocolate, sugar, and stabilizers play a crucial role in the final texture. Ratios must be adjusted precisely to ensure a uniform and glossy result.
Mixing Technique to Avoid Lumps
A good mix is fundamental for consistency. Using an immersion blender allows for incorporating ingredients while preserving a smooth texture. This process effectively prevents lumps that can mar the overall appearance of the glaze.
Cooling Tips for Perfection
| Step | Ideal Temperature |
|---|---|
| Pouring | 30-35 °C |
| Cooling | 10-15 min in the refrigerator |
Cooling steps must be meticulously followed to achieve a uniform and glossy surface. Allowing the preparation to thicken ensures a flawless finish.
Once the consistency is mastered, you can focus on preventing bubbles and cracks that may compromise the final appearance of the glaze.
Tips for a Glaze Without Bubbles or Cracks
Techniques to Eliminate Air Bubbles
Air bubbles in glaze can ruin its mirror effect. To address this, it is suggested to use a gentle tapping technique with a spatula to burst bubbles before pouring. Another effective method is to allow the preparation to rest, thus avoiding excessive air incorporation.
Preventing Cracks in the Glaze
Cracks often appear during rapid cooling. Controlling the ambient temperature and that of the dessert can prevent this phenomenon. Opt for gradual cooling to maintain the structural integrity of the glaze.
Recommended Tools for a Flawless Finish
Baking tools play a vital role in achieving a flawless glaze. Here’s a list of recommended tools:
- Offset spatula for even spreading.
- Thermometer to monitor critical temperatures.
- Immersion blender to eliminate lumps and bubbles.
After mastering these techniques, you are now ready to customize your glaze and add a unique professional touch to your creations. Let’s explore expert advice for successful customizations.
Expert Advice: Customize Your Glaze Like a Pro
Incorporating Natural Colorants
Adding natural colorants, such as those made from beetroot or spirulina, offers a healthier alternative to artificial dyes. Subtle touches of color can transform your glaze while maintaining a modern and elegant aesthetic that will impress your guests.
Experimenting with Varied Flavors
Customization is not limited to color; flavors also play a crucial role. Consider incorporating extracts of vanilla, orange, or mint to add a distinctive signature to your desserts. These subtle additions provide a refined taste dimension in every bite.
Presentation and Inspiring Finishes
Experts recommend playing with presentation for maximum visual impact. Techniques such as using stencils or piping designs with a pastry bag add an extra charm to your cakes. Unleashing creativity allows you to achieve finishes worthy of the greatest pastry chefs.
Ultimately, hot glazing becomes more than just a sweet covering. This art of decoration, enhanced by expert tips, equips you with the tools necessary to create desserts that are not only beautiful to behold but also delicious to savor. With this knowledge, your culinary creations will shine with confidence and brilliance at any special occasion.