Preparing meat to achieve a perfect balance of tenderness and juiciness is a culinary challenge many aspire to conquer. Searing meat without drying it out requires precise methods and well-crafted tips. In this article, discover how to select the ideal meat for successful cooking, the common mistakes to avoid, and advanced techniques that will make your dishes a delight for the senses.
Choosing the Right Meat for Searing
What Types of Meat to Choose?
Selecting the right cut is crucial for optimizing your searing technique. Red meats such as beef are often favored for their intense flavor and ability to sear quickly. Recommended cuts include:
- The tenderloin, known for its delicate tenderness.
- The ribeye, which offers a robust taste and juicy texture.
- The sirloin, a good balance between flavor and cost.
Additionally, opting for cuts with a slight marinade can enhance flavor while increasing the meat’s moisture content.
Quality Criteria to Observe
When purchasing meat, make sure to check its color and texture. It should exhibit a vivid red hue, with subtle marbling of fat for optimal searing. Quality meat is also distinguished by its fresh and pleasant aroma.
With the right cut of meat in hand, let’s now explore how to avoid the most common cooking errors.
Avoiding Common Cooking Mistakes
Overheating and Drying Out
Excessive heat can quickly dry out the meat. Ensure that your pan is hot enough to sear the meat, yet not so scorching that it burns the surface. Typically, searing should not exceed 30 seconds to 1 minute per side, depending on the thickness of the cut.
The Myths of Flipping
A persistent myth suggests that you should only flip the meat once during cooking. However, regularly turning the meat allows for even heat distribution and prevents the formation of a tough crust.
With these mistakes behind us, let’s focus on a crucial yet often overlooked aspect: the meat’s temperature before cooking.
The Importance of Temperature Before Cooking
Tempering the Meat
A common mistake is cooking meat straight out of the refrigerator. Allow it to rest at room temperature for 20 to 30 minutes before cooking. This ensures more even cooking and prevents the thermal shock that can constrict fibers and dry out the meat.
The Impact on Tenderness
Cold meat takes longer to heat, potentially compromising the quick searing process. Ensuring your cut is tempered also allows for better control over your desired doneness, whether rare, medium, or well done.
Once the ideal temperature is reached, let’s delve into a fascinating chemical reaction: the Maillard reaction.
Mastering the Maillard Reaction for Unmatched Flavor
What Is the Maillard Reaction?
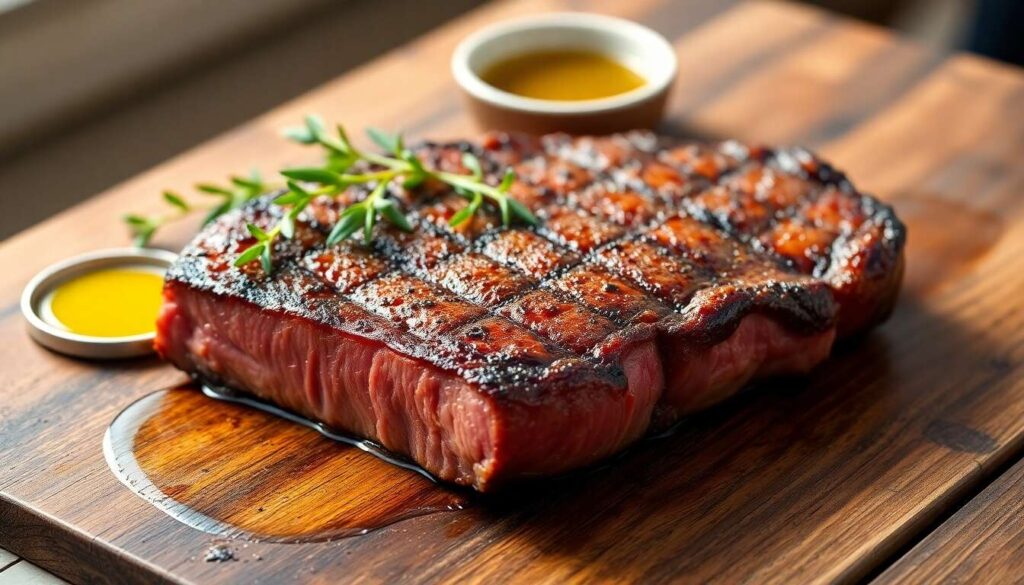
The Maillard reaction is a chemical process triggered at high temperatures, giving meat its golden crust and caramelized flavor. This occurs when amino acids react with the sugars in the meat.
| Element | Required Temperature (°C) |
|---|---|
| Initiation of Reaction | 154 |
| Flavor Optimization | 160-170 |
How to Optimize This Reaction?
To take advantage of this reaction, it is essential to avoid overcrowding the pan, as a crowded surface releases too much juice, preventing the meat from browning properly. Use an appropriately sized pan and ensure that your meat is dry before cooking.
After mastering the Maillard reaction, let’s consider the crucial timing of cooking.
Knowing the Ideal Cooking Time
Calculating Times for Each Degree of Doneness
Cooking time determines the final texture of the meat. Here is an overview of average cooking times for a standard piece about 2 cm thick:
- Rare: 1 to 2 minutes per side
- Medium: 3 to 4 minutes per side
- Well-done: 5 to 6 minutes per side
Factors Influencing Cooking Time
Be sure to adjust these times according to the size and density of the cut. A meat thermometer can assist you in achieving the ideal internal temperature. For rare meat, aim for an internal temperature of 50-52°C, while 60-63°C will yield medium doneness.
Once you have mastered cooking, it is equally important not to overlook the necessity of resting the meat.
Letting the Meat Rest for Enhanced Juiciness
Why Resting Is Crucial
After cooking, allowing the meat to rest is often overlooked but essential. This step helps the juices redistribute evenly, resulting in tender and juicy meat. As a general rule, cover the meat loosely with aluminum foil and let it rest for 5 to 10 minutes.
The Balance Between Heat and Juices
This resting period stabilizes the internal temperature and prevents excessive juice loss when carving. Your meat will thus retain its full flavor without suffering from moisture loss.
Exploring Reverse Searing for Remarkable Results
Principle of Reverse Searing
This technique involves slowly cooking the meat at a low temperature before quickly searing it at the end, reversing the traditional order. This maximizes tenderness and produces a beautifully browned crust without the risk of overcooking.
Advantages of This Method
The reverse searing method offers several benefits:
- Improved heat distribution
- Optimal control over the degree of doneness
- Enhanced tenderness and flavor
Utilizing an oven or a pan preheated to around 120°C for the initial slow step, followed by a finish at high heat, is recommended for perfectly cooked meat.
By adopting these tips, you can transform a simple meat dish into a gastronomic experience, while radiating confidence and enthusiasm.
The perfection of searing meat hinges on a sequence of judicious choices and technical gestures. At each stage, a rhythmic understanding of heat, internal temperature, and resting time enriches the cooking process. By applying these principles, your meat will be not only succulent but also bursting with flavor. Common sense and ingenuity are your best allies in evading the chef’s greatest foe: dry meat.